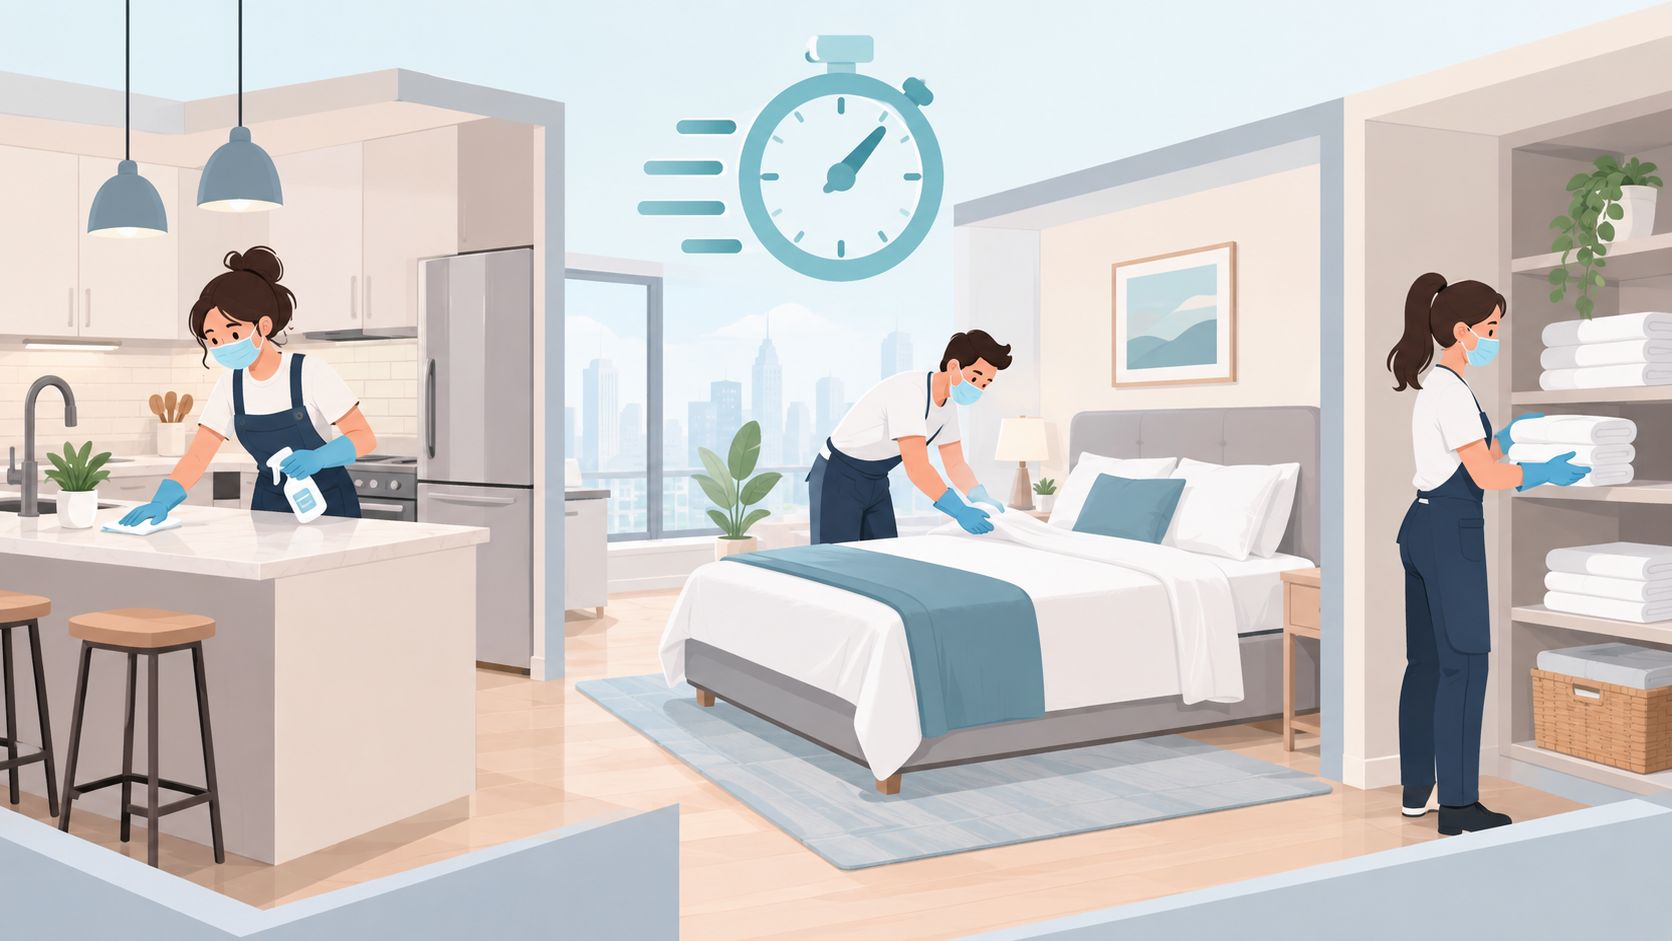
The cleaner arrives after checkout, but the next guest is already asking whether early check-in is possible. Laundry hasn't returned, a bathroom fixture needs attention, and the spray bottle is empty. The unit may have several hours of hands-on work ahead, yet the problem is usually not effort. It's the time lost between tasks, handoffs, missing supplies, and surfaces that must be cleaned again.
A reliable rental property turnover treats the move-out to move-in cycle as a measurable operating process. Cleanliness protects guest confidence, while a disciplined sequence protects revenue by reducing avoidable vacancy. Disinfectant wipes are especially useful on high-touch surfaces because they can replace a slow spray-and-wipe routine where controlled application and visible wet contact matter most.
What a Complete Rental Property Turnover Actually Looks Like
A turnover starts before the guest leaves. The useful measurement is not just “cleaning time.” Track the minutes from the last guest's checkout to the moment the property is verified and ready for the next arrival. A three-bedroom unit may require four to six hours of hands-on work, while poor coordination can stretch the calendar window to eight to ten hours because staff wait on laundry, vendors, supplies, or one another.
Use six phases, each with its own target:
- Pre-departure confirmation, around 15 minutes: Confirm checkout instructions, access codes, expected departure, special requests, and any reported issue. If the property is photographed for marketing, follow a preparation resource such as how to prep Airbnb for photos in before the unit is staged.
- Inspection and damage assessment, around 15 minutes: Walk the unit before supplies spread across the floor. Identify damage, missing items, odors, leaks, pests, and maintenance concerns.
- Trash and linen removal, around 30 minutes: Open windows where appropriate, remove waste, strip beds, collect towels, and place laundry in clearly labeled bags. Don't let a cleaner discover a full linen hamper halfway through the reset.
- Deep cleaning and disinfection, about two hours: Work top to bottom, then complete a dedicated high-touch pass. Separate soil removal from disinfection so a dirty surface doesn't undermine the disinfectant step.
- Restocking consumables, around 30 minutes: Refill paper products, soaps, bags, coffee supplies, and other approved amenities only after cleaning and disinfection are complete.
- Pre-arrival verification, around 30 minutes: Test lights, climate controls, appliances, locks, and water fixtures. Check beds, bathrooms, floors, odors, and guest-facing details before locking up.
Practical rule: If a phase has no owner and no target, it will expand until it consumes the arrival window.
Where the calendar breaks
Waiting on laundry is a common bottleneck, but it's rarely the only one. Crews also lose time hunting for products, assigning one person to finish every task before another begins, and re-cleaning zones missed during a rushed final walk.
A simple unit-entry board can show the phase, owner, start time, finish time, and open issue. That record makes it easier to distinguish cleaning labor from vendor delay or maintenance delay. It also gives the property manager a defensible explanation when the arrival schedule changes.
The timeline below gives a practical operating model. Adjust the targets to the unit, but keep the phases separate so bottlenecks remain visible.

The Room-by-Room Cleaning and Disinfection Checklist
Cleaning removes soil. Disinfection addresses microorganisms on suitable hard, non-porous surfaces. A wipe only works as labeled when the surface stays visibly wet for the product's full contact time. EPA label directions include a one-minute contact time for one disinfectant wipe label, while another label version notes that claims can require 30 seconds to several minutes, depending on the product and claim.
Use one wipe for a logical surface group, then discard it. Don't carry a used wipe from the toilet handle to a kitchen cabinet pull. Pre-clean visibly dirty areas, use the correct product for the material, and let the surface remain wet for the label period.

Kitchen
- Appliances: Clean the oven controls, microwave keypad, refrigerator handle, dishwasher controls, and other touch points. Don't use a wet wipe on openings or electrical components.
- Counters and sink: Remove food residue first, then disinfect compatible counter surfaces, faucet handles, sink controls, and disposal switches.
- Cabinet pulls: Wipe every pull, not just the ones near the stove. These are easy to miss because they don't look visibly dirty.
- High-soil zones: Use a suitable cleaner for grease, dried food, and grout. Disinfectant wipes are a finishing tool, not a substitute for degreasing.
Bathrooms
Clean toilets, showers, tubs, faucets, mirrors, vents, and floors in a consistent order. Give special attention to flush handles, toilet-seat hinges, shower controls, faucet levers, light switches, and door handles. Keep bathroom PPE separate from kitchen PPE, and never use the same wipe across both areas.
Bedrooms and living areas
Replace linens, inspect mattresses and headboards, and wipe remotes, thermostat dials, nightstands, drawer pulls, and light switches. In living areas, clean sofa contact points, suitable electronics controls, door handles, and switches. Vacuum rugs and floors after overhead dusting so debris doesn't settle on a finished surface.
The top-of-list touchpoint pass should cover door handles, light switches, remotes, thermostat controls, bathroom fixtures, faucet handles, and cabinet pulls before restocking begins. For a printable workflow, pair this room sequence with the rental property cleaning checklist.
Why Disinfectant Wipes Change the Turnover Equation
Spray-and-wipe cleaning often looks inexpensive because the product is familiar. In practice, the crew must locate the bottle, confirm the dilution or ready-to-use status, apply enough product, wait for the required contact time, and wipe or leave the surface wet according to the label. Under pressure, workers commonly spray and immediately wipe, which can break the product's claim.
Disinfectant wipes remove several of those steps. The sheet arrives pre-saturated, the dose is more controlled from pass to pass, and a properly applied wipe leaves the surface visibly moist while the label contact time runs. That makes wipes valuable for clusters of small, high-touch surfaces such as handles, switches, remotes, and controls.
The right comparison is operational, not ideological:
| Factor | Spray-and-Wipe | Disinfectant Wipes |
|---|---|---|
| Application | Requires a bottle, spray pattern, and cloth | Pre-saturated sheet is ready for use |
| Contact time | Often shortened when staff wipe immediately | Easier to observe because the surface remains visibly wet |
| Coverage | Can vary with overspray and cloth loading | Consistent when the cleaner uses a fresh sheet and full coverage |
| Best use | Large surfaces, floors, heavy soil, and compatible panels | High-touch, small, hard, non-porous surfaces |
| Limitation | Can create overspray or extra setup | Not efficient for large floors or heavy grout soil |
EPA directions require the hard, non-porous surface to remain wet for the full contact time. A wipe doesn't create compliance automatically. The cleaner still has to use enough product, cover the complete surface, and follow the label.
Wipes lose their advantage on large floor areas, heavily soiled grout, and some stainless-steel panels that streak. Pair them with mops, microfiber cloths, and appropriate sprays instead of treating them as a universal replacement. For operators trying to reduce coordination work around recurring resets, tools that automate booking for cleaners can help align assignments with the actual turnover calendar.
Staffing, PPE, and Workflow on Turnover Day
A small crew should move through the unit like a relay, not a queue. The lead enters and assesses the property, the surface cleaner starts common areas, the bath or specialty cleaner works on bathrooms and kitchen detail, and the inspector arrives while the final tasks are still closing.
A workable staggered sequence looks like this:
- Team lead: Opens the turnover record, checks damage, assigns rooms, and confirms vendor status.
- Surface cleaner: Dusts, wipes, vacuums, and completes common-area cleaning without waiting for the bathroom stage.
- Bath and specialty cleaner: Handles bathroom soil, kitchen detail, fixtures, and areas requiring closer material judgment.
- Inspector: Performs the final check, photographs the finished unit, records exceptions, and locks up.
Start with ventilation where appropriate, then remove trash and strip linens. Work top to bottom. Follow with the disinfectant wipe pass on high-touch zones, restock consumables, and finish with inspection. This order prevents fresh supplies from sitting in a dusty or unverified room.
Stage supplies before the first step
Park pre-built caddies at the entry, one for the kitchen, one for bathrooms, and one for bedrooms. Include approved cleaners, cloths, gloves, waste bags, replacement liners, and disinfecting wipes. A locked closet stocked with spare linens and restock bins also prevents unnecessary trips across the unit.
PPE should match the work. Use nitrile gloves, replace them between bathroom and kitchen stages, and use an apron or designated uniform during bathroom work. A face mask can be useful when stripping dusty linens or handling debris, subject to the employer's safety procedures and product labels.
The lead should confirm laundry, pest control, and maintenance handoffs before clocking out. A missing vendor confirmation isn't an administrative detail. It's an unresolved readiness risk.

Inspection, Photo Documentation, and Condition Reports
Inspection belongs inside the turnover, not after everyone has left. Reserve a focused 15-minute walkthrough for the inspector, with the property condition record open on a phone or tablet. The inspector should check bed linens, bathroom fixtures, kitchen appliances, floors, walls, and the high-touch points identified in the cleaning checklist.
Photographs should prove both condition and completion. Take a timestamped image of each room from the doorway, close-ups of pre-existing damage, and post-clean images showing every made bed and staged bathroom. Photograph stains on sheets, hair in drains, odors when they can be visually supported by a source, missing remotes, damaged fixtures, and anything a guest could later dispute.
A useful report stays structured:
| Room | Item Checked | Status | Photo | Inspector Notes |
|---|---|---|---|---|
| Bedroom | Bed linens | OK, wear, damage, or missing | Required | Note stains, tears, or replacement |
| Bathroom | Drain and fixtures | OK, wear, damage, or missing | Required for exceptions | Record hair, leaks, or residue |
| Kitchen | Appliance and controls | OK, wear, damage, or missing | Required | Note function and visible soil |
| Living area | Remote and electronics | OK, wear, damage, or missing | Required | Record presence and condition |
| Entry | Lock, handle, and lighting | OK, wear, damage, or missing | Required | Note access or safety concerns |
The inspector signs the report in the property management system and uploads it before the next guest arrives. That timing matters. If a guest later says an item was missing, dated images and a signed condition record give support staff an immediate record rather than forcing them to reconstruct the event weeks later.
For a broader handoff routine, use the property manager inspection checklist as a reference, then tailor the fields to the unit's furnishings and risk points.
Documentation standard: If a cleaner can't identify what changed, the report isn't finished.
Ways to Shorten Turnaround Without Cutting Sanitation
The fastest operators attack the calendar, not the cleaning cloth. They move tasks that don't need to wait for checkout, remove unnecessary handoffs, and stage the exact materials the crew will use.
Laundry pickup can be arranged before or at the start of the cleaning shift instead of after the unit is stripped. Pest control can run on a standing appointment, while maintenance quotes for recurring break-fix items can be pre-approved. These arrangements let vendors work alongside cleaning rather than forcing the team into a stop-and-start sequence.
Parallel scheduling also helps direct-booking operators. A guest who books consecutive stays through a direct channel may avoid an unnecessary platform gap, provided the arrangement meets applicable rules and the property's operating policy. The key is to protect the cleaning and inspection window, not to compress it until sanitation becomes a token task.
Build a visible buffer calendar
Create a 60-day buffer calendar with checkout, cleaning, inspection, maintenance, vendor, and check-in blocks. Look for blank periods between tasks. A calendar exposes slack that a daily task list hides.
At the unit, store caddies, spare linens, restock bins, approved products, and a designated container for used materials. A cleaner who starts at the entry with everything staged spends less time crossing the floor and less time searching for a missing item.
The same principle applies to high-touch disinfection. One canister of suitable wipes at the entry or on the cleaning cart supports a deliberate pass over handles, switches, remotes, and controls. It's better than a spray-and-wait shortcut that leaves a surface under the labeled contact time.
Operators selecting equipment for short-term rentals can also compare the best cleaning tools for Airbnb hosts with their unit layout, staffing model, and supply-storage limits. Don't buy for a catalog. Buy for the bottleneck you can see on the calendar.

Guest Communication Protocols That Protect Reviews
Guests judge cleanliness through both the physical unit and the way the operator communicates. A clear message can reassure without making exaggerated claims, while a careless message can make a guest wonder whether the property needed extra cleaning.
Before arrival, confirm the check-in time and state that the unit was cleaned and disinfected by the trained turnover team. Mention soft-goods replacements when relevant, such as fresh linens or replaced towels. Keep the message factual and brief.
At check-in, provide a one-page housekeeping note. It can identify the high-touch zones cleaned with disinfectant wipes, explain the fresh-linen policy, and tell guests how to request a mid-stay refresh. This visible information also helps commercial cleaning suppliers explain why sanitizing wipes belong in a broader hospitality supply program, not only in a janitorial closet.
A practical sequence looks like this:
- Pre-arrival: “Your check-in time is confirmed. The unit has been cleaned and disinfected by our trained turnover team. Fresh linens are in place, and any replaced soft goods have been prepared for your arrival.”
- Check-in note: “High-touch areas, including handles, switches, controls, and remotes, were addressed during the final cleaning pass. Contact us through the platform if you need a mid-stay refresh.”
- Mid-stay: Send one optional message around day three asking whether anything needs attention. Don't imply that the unit is dirty or that a refresh is expected.
- Checkout: Thank the guest, explain that leftover amenities may be donated or recycled where possible, and invite honest feedback through the platform channel.
Log all four touchpoints with timestamps. Support agents can then see what the guest was told, when the property was verified, and whether a request was answered. That record helps resolve cleanliness complaints without arguing with the guest or relying on memory.
For larger portfolios, consider whether commercial disinfecting wipes belong in the standard supply offer for property teams, alongside gloves, liners, microfiber cloths, and approved surface cleaners. The product only creates value when staff can find it, use it correctly, and document the workflow.
In offices, schools, restaurants, retail stores, and fitness facilities, the same principle applies. The exact surfaces differ, but frequent touch points deserve a defined cleaning frequency. CDC guidance lists high-touch surfaces and floors under a minimum frequency of at least once daily, and home hygiene guidance identifies light switches, doorknobs, and countertops as examples of surfaces that should be cleaned regularly, with disinfection especially appropriate when someone is sick or someone at higher risk is present (CDC cleaning and disinfection guidance).
In gyms, use gym equipment wipes at shared handles, dumbbells, touchscreens, benches, and adjustment points. Independent fitness-facility guidance recommends wiping equipment after every use and keeping the surface wet for the EPA-listed contact time (fitness facility surface-disinfection guidance). A visible gym wipe dispenser near the equipment makes the expected behavior obvious to members and staff.
For cleaning sales teams, position wipes around three outcomes: faster high-touch coverage, easier contact-time compliance, and visible hygiene practices that support customer confidence. Don't promise that wipes replace every other product. Show the customer where wipes to disinfect gym equipment fit, where a mop or degreaser remains necessary, and how a replenishment schedule can support daily operations.
The strongest rental property turnover program measures each phase, keeps supplies staged, documents the finished condition, and treats sanitation as part of the guest experience. Prioritize cleanliness today by assigning a defined wipe pass, following each product label, and adding the right EPA registered disinfecting wipes or facility-grade option to your daily supply routine.
Leave a Reply