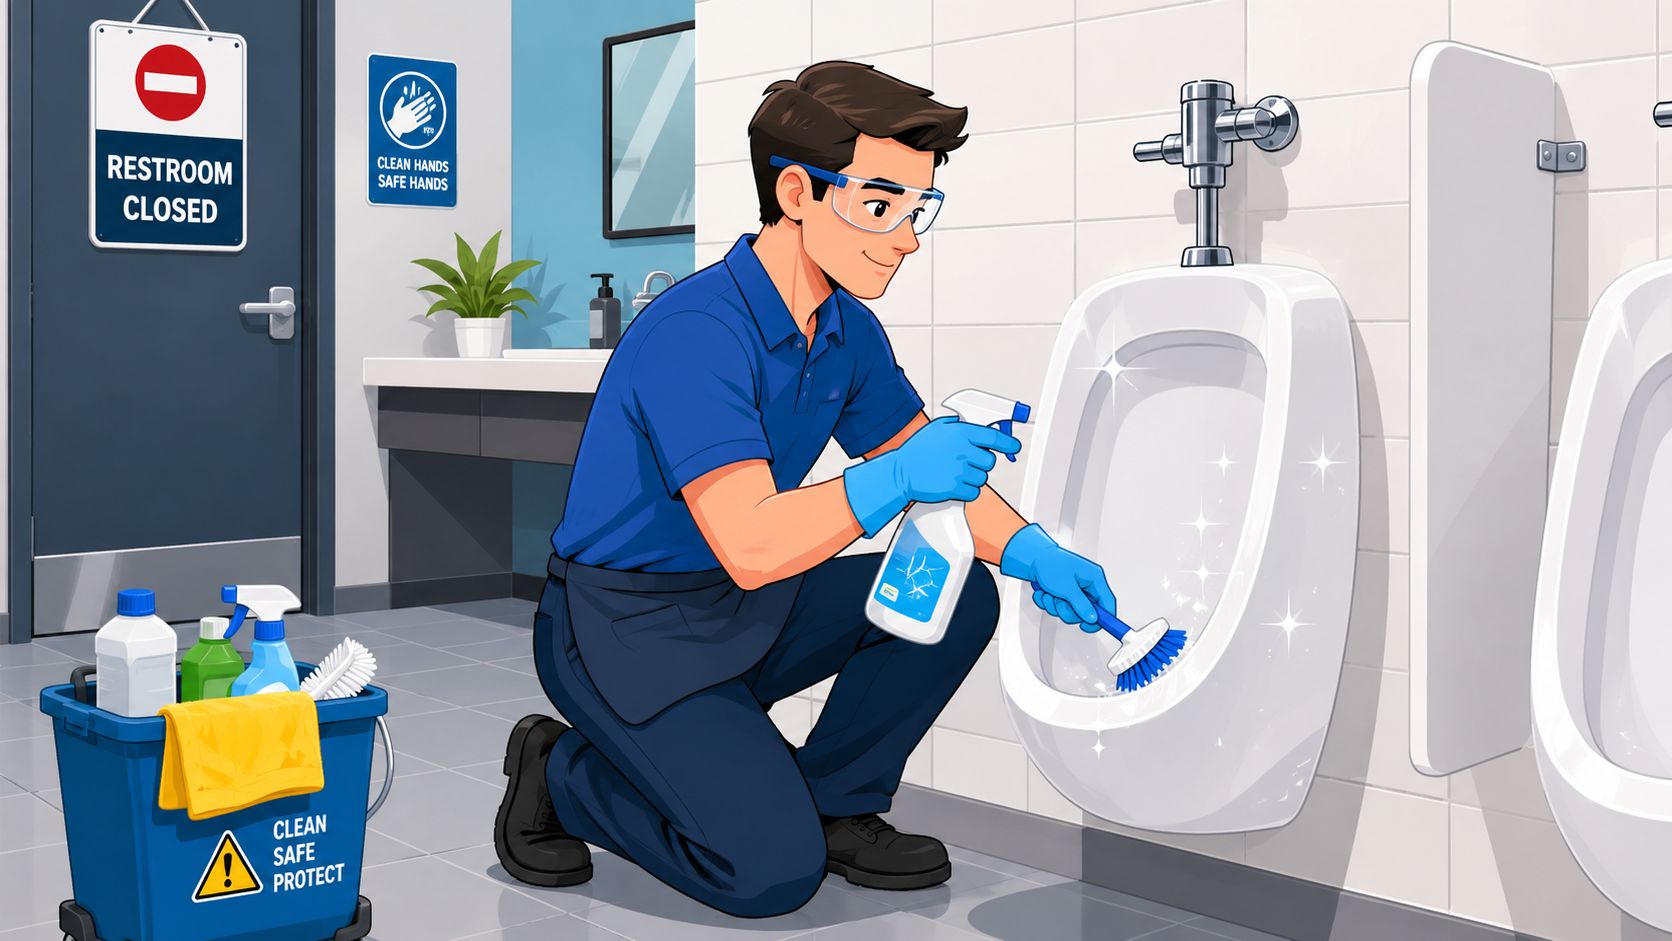
A manager usually notices restroom standards the moment complaints stop being vague. Nobody files a ticket that says the brand feels off. They say the urinal smells, the wall looks spotted, the handle feels grimy, or the restroom looks neglected even right after service.
That's why cleaning a urinal isn't a narrow janitorial task. In a gym, restaurant, school, retail store, or office, the urinal sits at the intersection of hygiene, guest perception, labor efficiency, and asset protection. If the cleaning program is weak, the restroom tells on you fast.
Beyond the Surface The Business Case for a Pristine Restroom
A dirty urinal doesn't stay a restroom problem. Customers connect what they see in the washroom to what they assume happens everywhere else. In a fitness center, that can undermine confidence in locker room hygiene and wipes for gym equipment. In a restaurant, it can cast doubt on back-of-house standards. In an office, it signals poor oversight.
Clean restrooms protect trust
Most operators focus on visible mess first. That makes sense, but it's incomplete. What people react to is the combination of odor, staining, splash residue, and neglected touchpoints. A urinal that's technically been “cleaned” but still smells of urine or has buildup around the drain reads as poor control.
That perception hurts more than many managers expect because restroom conditions feel personal. People may tolerate a scuffed hallway tile. They won't overlook a neglected urinal.
A restroom doesn't need to be luxurious. It needs to look controlled.
The issue is operational, not cosmetic
Urinal care affects three business outcomes at once:
- Brand confidence: Guests judge the entire facility by the restroom standard.
- Risk control: Poor technique can leave pathogens on nearby surfaces and partitions.
- Labor efficiency: Rework eats time. Teams lose productivity when they keep chasing odor without removing its source.
That last point matters in high-traffic spaces. Gyms and sports facilities often spend heavily on visible sanitation, including gym wipes, a gym wipe dispenser, and routine wipe-downs of shared equipment. But if the restroom program lags behind the workout floor, the customer experience breaks. The facility feels inconsistent.
For operators dealing with persistent urine smell, this breakdown is often tied to buildup outside the fixture, not just inside it. The pattern is familiar enough that a focused resource on urine odor in bathroom is useful for troubleshooting the hidden causes.
Why SOP beats reactive cleaning
The strongest facilities don't wait for odor complaints. They standardize product choice, dwell time, inspection, restocking, and sign-off. That protects the fixture and the reputation around it.
Sales teams should understand this too. If you sell disinfecting wipes, enzyme products, screens, or descalers, you're not selling a commodity. You're helping a client reduce complaints, shorten task time, and keep a public-facing area from undermining the whole business.
Safety and Preparation The Non-Negotiable First Steps
Before any product touches porcelain, secure the area and protect the worker. That's basic facility discipline. It also matters because flushing creates contamination beyond the fixture itself.

A documented finding from WAXIE's review of urinal aerosol spread is hard to ignore: when a urinal is flushed, airborne droplets containing pathogens are released within 5.5 seconds, with approximately 60 percent of these droplets traveling past the urinal's exterior barrier, reaching a height of 3 feet and contaminating surrounding surfaces. That changes how a manager should think about PPE, sequencing, and surrounding-surface disinfection.
Secure the area first
A proper setup is simple, but it can't be skipped.
- Close the restroom or isolate the fixture: Use a visible “Restroom Closed” or “Cleaning in Progress” sign before starting.
- Control foot traffic: Don't let users enter mid-process while chemicals are dwelling or surfaces are still wet.
- Stage tools before you begin: Bring brush, cloths, wipes, screen, cleaner, and trash liner in one trip so staff aren't moving in and out of the area.
Wear PPE that matches the task
For routine urinal cleaning, teams should use gloves and eye protection at minimum. The reason isn't just chemical splash. It's also exposure to aerosolized contamination and disturbed residue during scrubbing.
A new manager should treat PPE as a professional standard, not a personal preference. If staff are handling descaler, reaching into the drain area, removing a heavily soiled screen, or wiping partitions and walls around the urinal, they need protection every time.
Practical rule: If a task involves splashback, drain buildup, or chemical contact, PPE goes on before the first flush.
Do a fast pre-clean inspection
This takes little time and saves rework. Check for cracked porcelain, damaged flush handles, loose partitions, failed caulk lines, heavy mineral scale, or signs that odor is coming from the floor or wall line rather than the bowl alone.
Use that inspection to decide whether the job is:
- A standard daily clean
- A corrective deep clean
- A maintenance escalation for plumbing or fixture repair
That distinction matters in public facilities, gyms, and schools where teams often rush from one restroom to the next. If a manager doesn't classify the problem correctly, staff end up doing surface cleaning on what is really a buildup or drainage issue.
The Right Arsenal Cleaners Disinfectants and Tools
Most urinal problems come from using the wrong chemistry for the wrong job. Soap for scale won't work. A disinfectant alone won't remove mineral buildup. Air freshener won't solve biofilm. Good results start with separating the work into categories.

Match the product to the problem
Here's the practical breakdown a facility manager should use:
| Product type | Best use | What it doesn't replace |
|---|---|---|
| Descaler | Urea salts, mineral deposits, drain-area buildup | Final disinfection |
| Enzyme cleaner | Organic odor control and recurring urine smell | Descaling heavy mineral buildup |
| Neutral disinfectant | Pathogen reduction on fixture exteriors and nearby surfaces | Deep stain removal |
| Microfiber cloth | Final wipe-down and drying | Scrubbing crevices |
| Urinal brush | Interior agitation, drain line focus | Surface disinfection |
| Disinfectant wipes | Handles, partitions, walls, dispensers, nearby touchpoints | Interior descaling |
The key trade-off is speed versus depth. A wipe is ideal on the outside. It's not the tool for heavy interior buildup. A descaler is excellent inside the bowl and drain area. It isn't the product you want as the everyday answer for the flush handle and partition.
Why wipes belong in the restroom program
Many buyers still think too narrowly; they see commercial disinfecting wipes as a convenience item. In practice, they're a labor-control tool.
According to Imperial Dade on pre-moistened disinfecting wipes, pre-moistened disinfecting wipes increase janitorial staff productivity by eliminating the need for chemical mixing and spraying, reducing product preparation time and lowering staff chemical exposure risks by ensuring a consistent, safe dilution. That's useful in restrooms, but also across offices, schools, retail fitting rooms, and fitness centers where staff need a fast, ready-to-use finish step.
For buyers sourcing EPA registered disinfecting wipes, bulk gym wipes, or restroom touchpoint products, a supplier page like commercial disinfecting wipes from Wipes.com is relevant because it helps standardize procurement across multiple facility zones instead of buying restroom chemicals and wipe products in disconnected channels.
Focus wipe use where hands and splash land
In a urinal zone, wipes make the most sense on:
- Flush handles and buttons: These are obvious high-touch points.
- Partitions and nearby wall surfaces: Splash residue often lands outside the bowl.
- Door hardware and light switches: Especially important in shared public restrooms.
- Dispensers and counters: The same logic applies in adjacent sink areas.
This aligns with broader commercial hygiene practice. In foodservice settings, guidance on disinfecting wipes for commercial kitchens highlights high-touch surfaces like door handles, light switches, and countertops as germ hotspots. The lesson carries over directly to restrooms.
A wipe program works best when staff know exactly which surfaces get wiped every round and which ones require deeper chemistry on a schedule.
For larger facilities or properties that need periodic expert support beyond daily janitorial routines, managers sometimes pair their SOP with outside help such as Toronto property disinfection solutions when dealing with broad disinfection demands across multiple occupant areas.
The Core Cleaning Protocol A Step-by-Step Breakdown
A urinal can look acceptable from the doorway and still fail inspection up close. The misses are predictable. Scale remains under the rim line, disinfectant dries before contact time is met, splash residue stays on the partition, and the drain keeps feeding odor back into the room. A facility-grade result comes from a repeatable sequence that removes buildup first, disinfects second, and resets the area so the next round is faster.

The backbone is the six-step urinal cleaning method from Imperial Dade: flush, apply descaler and allow dwell time, scrub the interior, rinse thoroughly, disinfect the fixture and nearby touchpoints, then dry and reinstall the screen. That sequence matters because mineral soil blocks chemistry, and resetting the fixture before surfaces are dry invites new contamination and slip risk.
The six-step SOP that holds up in daily operations
Flush and clear the fixture
Flush first to move out loose soil. Then remove the urinal screen so staff can reach the drain opening, water path, and the lower interior where deposits collect.Apply descaler to the buildup zones
Coat the interior surface, stain lines, trap opening, and any area with visible mineral film. Follow the product label for dwell time. If the approved chemistry allows a range, use the full dwell period on heavy buildup. Cutting this step short is one of the fastest ways to create repeat work.Scrub with a tool dedicated to urinals
Agitate the bowl, drain area, underside contours, and back wall with a urinal-only brush. Do not cross-use that tool on toilets, floors, or sinks. Dedicated tools protect the rest of the restroom from soil transfer and make inspection failures easier to trace.Rinse completely
Flush until loosened deposits and residual descaler are gone. Any remaining chemical can interfere with the disinfecting step or leave residue that attracts more soil.Disinfect the exterior and splash zone
Treat the flush handle or sensor housing, outer fixture surfaces, partition, nearby wall, and any adjacent touchpoints that catch hand contact or splash. If staff use wipes on those outside surfaces, keep the surface visibly wet for the full label contact time. In mixed fleets, the procedure should also reflect the unit type. Managers handling low-water and cartridge systems should align this step with a waterless urinal maintenance process so they do not apply the wrong chemistry or rinse pattern.Dry, inspect, and reset
Wipe dry with microfiber, install a fresh screen if the schedule calls for it, and check the floor edge and base of the partition before reopening the area. A dry reset helps control slip hazards and gives the next shift a clean baseline.
Contact time decides whether disinfection actually happened
Many crews remove visible soil and assume the job is finished. It is not. 2XL's guide to selecting disinfectant wipes explains that dwell time, also called kill time or contact time, is the period the surface must stay wet for the product to work as labeled.
That applies to sprays and to antibacterial wipes used on handles, partitions, and other external touchpoints. If the surface dries early, staff may have cleaned it, but they did not complete disinfection.
Train to the label, not to the stopwatch in a cleaner's head.
Technique details that protect labor hours and finish quality
Small habits separate a passable restroom from one that stays under control all day. Work from the fixture outward so splash and runoff do not push soil back onto cleaned surfaces. Check the drain opening and water path under strong light because those are the areas inspectors and guests notice once odor starts. Replace consumables during the reset, not on a separate trip, because one visit should leave the zone fully ready for use.
I also expect supervisors to inspect the wall, partition edge, and floor line around the urinal, not just the porcelain. Splashback physics spreads the cleaning load beyond the bowl, and that is where brand damage shows up first in public view.
For broader restroom detailing beyond the urinal zone, a practical outside reference is this guide to a pro-level bathroom clean.
Advanced Maintenance Odor Control and Waterless Systems
A restroom can look clean at 7:00 a.m. and still generate odor complaints by 9:30. In my experience, that usually points to a maintenance failure in the drain line, cartridge, or wall and floor zone around the fixture, not a problem with the last wipe-down.
Odor control starts below the surface
Persistent urinal odor usually comes from three sources. Biofilm in the waste path, mineral scale that holds organic residue, and splash contamination outside the bowl where routine checks are too shallow. If staff clean the visible porcelain and skip those reservoirs, the smell returns fast and the team starts overcleaning the wrong areas.
As noted earlier, restroom hygiene research has linked hidden buildup in urinal and toilet environments to long-lived contamination. The operational lesson is simple. Chronic odor needs removal of the source, not a stronger fragrance layered on top.
Set the response by condition.
If the drain opening shows scale, use the approved descaler on the schedule your fixture manufacturer allows. If the line is clear but odor persists, add an enzyme or bacterial drain treatment that matches your plumbing setup and local discharge rules. If odor is strongest on approach rather than directly over the bowl, inspect the wall base, partition edge, grout line, and floor seam first. Those are common splashback collection points, especially in high-traffic men's rooms.
For sites with recurring slow drainage, Harrlie Plumbing's drain prevention strategies are a useful reference for spotting upstream causes before they turn into standing odor and repeat service calls.
Splashback drives labor, complaints, and finish wear
Splashback is not just a housekeeping nuisance. It changes how much surrounding surface area needs attention, how often floors need touch-up work, and how quickly odor settles into porous joints and damaged sealants.
Researchers summarized in PMC on urinal splashback and redesign found that impinging angles below 30° reduce splashback by 95%, with clear implications for fixture design and user positioning. Facility managers can use that insight in practical ways. Review mounting height during renovations, choose screens and inserts that do not deflect flow outward, and post simple placement cues where user behavior is a known problem. In schools, arenas, and bars, those small controls can cut cleanup load around the fixture more reliably than adding another mid-shift pass.
I also watch finish condition closely in the splash zone. Once paint softens, caulk opens, or grout stays damp, odor control gets harder and labor costs rise because the room starts holding contamination instead of releasing it during normal cleaning.
The cheaper correction is usually fixture setup and surface protection, not repeated emergency cleaning.
Waterless urinals need exact maintenance
Waterless urinals save water and can perform well, but only when the team follows the manufacturer procedure every time. Vague instructions create odor problems fast.
According to Green Lodging News on waterless urinal systems, a precise mixture of 3 oz of sealant and 12 oz of water is required to restore the barrier after cleaning or trap replacement, and this is needed roughly every 1,500 uses. Miss that reset step and the unit often gets blamed for a maintenance error.
Train staff on the specific cartridge or sealant system installed in the building. Do not let crews treat all waterless models the same, because replacement intervals, approved chemicals, and restart steps vary. If you are standardizing training materials, this plain-language guide on how waterless urinals work helps new supervisors understand why the cartridge, liquid seal, and drain path have to be maintained as one system.
The long-term rule is straightforward. Standard flushed urinals fail when scale and splash are ignored. Waterless urinals fail when the cartridge program is sloppy. Both problems are manageable, but only if the maintenance plan matches the fixture type.
Building a Sustainable Cleaning Program Checklists and Consistency
A restroom can pass a morning inspection and still generate a complaint by lunch if the cleaning program is loose. That usually happens in buildings with decent products but weak execution. The fixture gets cleaned. The room does not stay clean.

Consistency matters because contamination lingers in places crews miss repeatedly, especially under rims, at drain openings, on flush hardware, and on the floor-wall joint beside the fixture. As noted earlier, organisms can persist in restroom environments far longer than many managers expect. A reactive schedule will not correct that. A written program with assigned ownership usually will.
Build the schedule around traffic and risk
Set the schedule by use level, splash risk, and fixture type. A private office restroom can run on a different cadence than a school, stadium, airport, or health club, but the framework should stay the same so coverage does not depend on who is on shift.
| Frequency | What belongs here | Why it matters |
|---|---|---|
| Daily | Spot cleaning, touchpoint disinfection, odor check, screen check, wipe of floor edges and nearby partitions | Controls visible soil and catches early odor or splash problems |
| Weekly | Full urinal cleaning, descaling review, drain attention, wall and partition disinfection, flush valve wipe-down | Stops buildup before it turns into staining, odor, or chronic complaints |
| Monthly | Fixture inspection, plumbing review, condition check of screens and seals, SOP audit, supply usage review | Finds recurring failures and shows whether the program is being followed |
Do not let odor set the schedule. Odor is a late indicator.
High-use sites often need a second layer between full cleans. That is where ready-to-use EPA-registered disinfecting wipes earn their keep. They help teams reset touchpoints and nearby hard surfaces quickly without dragging a full kit into the room every hour. For a gym or other fast-route environment, that matters because the same attendant may be covering locker rooms, equipment stations, mirrors, and restrooms in one round.
Give staff a checklist they can finish and a supervisor can verify
A usable checklist is short, specific, and tied to the fixture's failure points. If it reads like a training manual, crews stop using it. If it is too vague, supervisors cannot audit it.
- Before cleaning: Post signage, put on PPE, confirm ventilation, inspect the urinal, wall, flush point, screen, and floor perimeter.
- During cleaning: Remove the screen, apply the correct cleaner, allow dwell time, scrub scale-prone areas, clean the exterior and surrounding splash zone, rinse if required, disinfect, and dry surfaces that should not stay wet.
- After cleaning: Reinstall the screen or cartridge component if applicable, check for odor, inspect the drain area, restock nearby supplies, and sign off the task.
- Supervisor review: Verify contact time, check missed splash areas, confirm the right product was used for the fixture type, and log repeat issues such as recurring scale, loose fittings, or overspray on walls.
That review step matters more than many teams admit. Without it, staff drift back to cleaning only the visible porcelain.
Standardize the supply system, not just the task
Programs hold up better when procurement matches the route. Stock the cart with one approved descaler, one approved disinfectant, microfiber by use category, the right brush, replacement screens, and a wipe product for fast hard-surface disinfection. That reduces guesswork, shortens training time, and cuts the common problem of crews substituting the wrong chemical because it was the only bottle left on the cart.
Waterless units need their own checklist and their own supplies. Standard flushed urinals and waterless systems fail in different ways, so the sign-off steps cannot be identical.
I tell new managers to audit two things every month. First, whether the room is staying clean between services. Second, whether the team is following the written method instead of improvising. If both are true, the program is working.
Manager's standard: If the task cannot be taught on one page and verified in one glance, the SOP needs tightening.
Clean urinals come from repeatable systems. Set the frequency by traffic, buy supplies that match the route, build checklists around real splash and scale points, and inspect the result often enough to correct drift before occupants do.
Clean restrooms don't happen by accident. Prioritize urinal hygiene as part of your daily operating standard, and don't treat disinfectant wipes as an afterthought. Used correctly, they speed up touchpoint disinfection, support consistency, and fit naturally into broader restroom, office, restaurant, school, retail, and gym sanitation routines. For more practical cleaning and sanitizing guidance, visit WipesBlog.com.
Leave a Reply