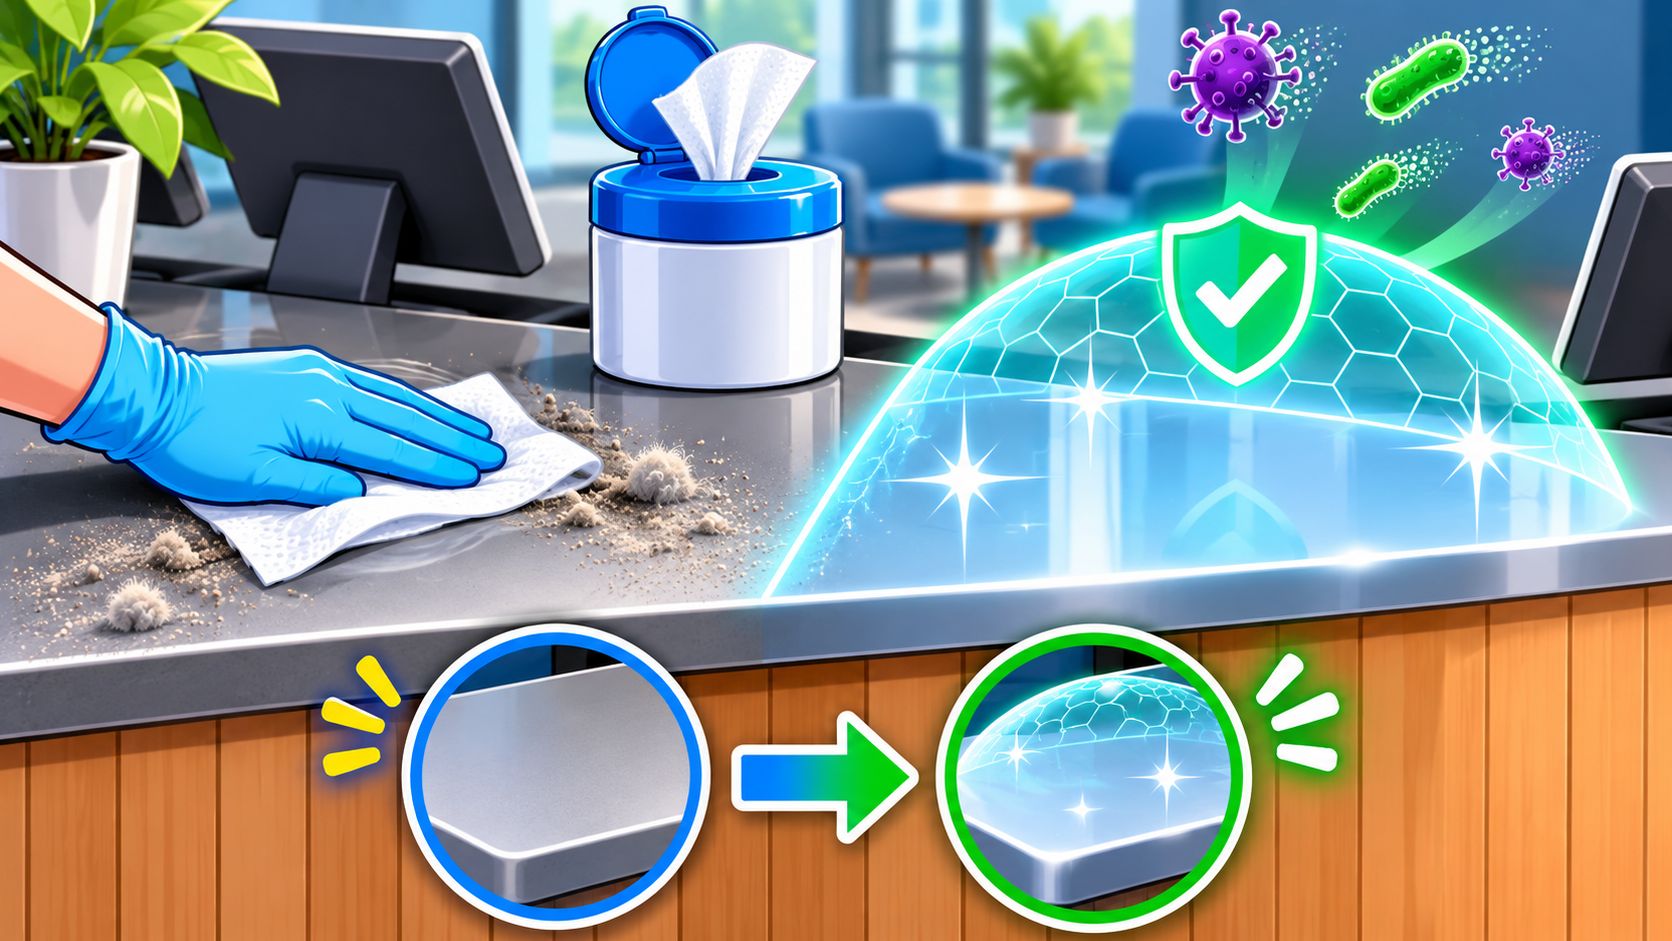
The evening rush has started, the front desk is busy, and someone has just wiped a weight bench before the next member sits down. The bench looks clean. But did the wipe remove sweat, sanitize the surface, or disinfect it? If nobody checked the label or allowed the required wet contact time, your team can't confidently answer.
Sanitation and disinfection work best as an organized process, not a quick swipe. Commercial facilities need the right hygiene level for each zone, products staff can use correctly, and a schedule that survives busy periods. Wipes can make that process easier, but only when managers plan for coverage, timing, surface compatibility, and disposal.
Sanitizing and Disinfecting Are Different Jobs
Cleaning removes soil. Sanitizing reduces bacteria to a safe level. Disinfecting kills or inactivates specified pathogens on a surface. These aren't interchangeable claims, even when products come in similar containers.
Cleaning, sanitizing, disinfecting and sterilizing compared
| Level | What It Does | Typical Target | Label Requirement |
|---|---|---|---|
| Cleaning | Removes soil, dust and grime | Visible dirt on any surface | No kill claim |
| Sanitizing | Reduces bacteria to a safe level | Food-contact and general surfaces | Typically a 99.9% reduction claim |
| Disinfecting | Kills specified pathogens | High-touch and contaminated surfaces | Named organisms and a labeled contact time |
| Sterilizing | Eliminates all microbial life | Surgical instruments and implants | Validated sterilization process |
The sanitizing percentage is a typical claim, not permission to assume every product suits every application. Food-contact use, organisms, application method, and any rinse requirement must match the actual label.
Most offices, gyms, and shops don't need sterilization for ordinary environmental surfaces. They need consistent cleaning and appropriately targeted sanitizing or disinfection.

Appearance doesn't establish protection
Cleaning is like wiping dust off a shelf. Disinfecting is the additional pathogen-control step that can make that shelf more suitable for shared use, provided the product supports the application. Neither appearance nor fragrance proves that treatment worked.
WHO environmental-cleaning guidance explains why effective disinfection requires correct chemical concentration, complete surface coverage, and the required wet contact time. Soil and organic material can shield microorganisms or consume active ingredients, so cleaning comes first.
A ready-to-use wipe simplifies concentration control, but it doesn't solve inadequate coverage or early drying. Staff still need enough liquid to treat the whole surface, and managers need to check whether the material tolerates the formulation.
Practical rule: If the problem is dirt, clean it. If the problem is germs passing between people through a shared touchpoint, decide whether that surface needs disinfection.
Don't select products by the strongest-sounding wording on the package. Select the required outcome first, then confirm that the label supports it.
Which Facilities Need Which Hygiene Level
Hygiene level and routine by facility type
| Facility | Highest-Risk Surfaces | Recommended Level | Routine |
|---|---|---|---|
| Gym or fitness center | Handles, bench pads, touchscreens, adjustment levers | Disinfect between users | Gym equipment wipes during peak hours |
| School | Desks, door handles, restroom fixtures | Disinfect shared touchpoints daily | Targeted rounds during the school day |
| Restaurant | Tables, menus, restroom fixtures | Sanitize food-contact surfaces, disinfect restrooms | Between seatings and at close |
| Office | Pens, counters, elevator buttons, shared devices | Clean daily, disinfect shared touchpoints | Desks and shared tools each day |
| Retail store | Shopping carts, counters, fitting room handles | Disinfect high-touch points | Several times per day in peak hours |
| Airport or event venue | Security trays, seats, restroom fixtures | Disinfect high-touch points continuously | Fixed staff rounds on a schedule |
Treat these as planning routines, not universal regulatory requirements. Adjust them to illness events, actual use, local requirements, equipment instructions, and the product's permitted applications. Continuous coverage means scheduled staff rounds, not keeping seats or touchscreens permanently wet.
The CDC's community-facility guidance recommends routine cleaning of high-touch items including pens, counters, shopping carts, door handles, stair rails, elevator buttons, touchpads, restroom fixtures, and desks. It also recognizes that high-traffic spaces may need more frequent attention than lower-use areas.
A busy gym walkthrough
During peak use, assign staff to equipment rows rather than asking everyone to watch the entire floor. Focus on grips, bench pads, touchscreen controls, and adjustment levers between users. Member-accessible gym wipes support that routine, but staff should verify that dispensers work and equipment receives adequate treatment.
Floors and mirrors belong on a different cleaning route. Giving a mirror the same disinfectant attention as a shared handle wastes effort and may create unnecessary residue.
A wipe approved for hard, nonporous surfaces isn't automatically suitable for a textured or absorbent mat.
Restaurants need another clear separation: food-contact sanitizing must not become an extension of restroom disinfection. Keep products, cloths, and storage arrangements distinct, and confirm any food-contact rinse instructions.
Managers reviewing employee facilities can also use our guide to OSHA sanitation standards alongside their operating procedures.
For an unfamiliar zone, ask:
- Touch frequency: Do bare hands contact this surface often?
- Shared use: Do many different people use it?
A shared lift button deserves a different maintenance schedule from a decorative shelf.
Disinfect High-Touch Surfaces Step by Step
Minimum contact times by situation
| Situation | Minimum Contact Time | Key Note |
|---|---|---|
| Low- to intermediate-level disinfection of appropriate items | At least 1 minute | Confirm the label supports the target organism |
| Common EPA-registered disinfectant label claim | 10 minutes | Some pathogens show efficacy at 1 minute or more; follow the label |
| Routine nonporous surface, WHO benchmark | About 10 minutes at 0.5% available chlorine | Keep the surface visibly wet throughout |
| Blood or body-fluid spill | 15 minutes after application over the covered spill | Use the trained spill procedure, including safe soil removal |
| High-level disinfection of complex items | 12 to 30 minutes at 20°C or higher | Channels and joints require a validated process |
These are context-specific benchmarks, not interchangeable instructions. The CDC's disinfection-methods guidance describes exposure of at least 1 minute for appropriate low- and intermediate-level applications, common 10-minute hospital-disinfectant label claims, and 12–30 minutes at 20°C or higher for high-level disinfection.
The chlorine and spill benchmarks apply to the WHO procedures, not every wipe or surface. Don't turn a clinical spill-treatment concentration into a general gym recipe, and don't assume complex equipment becomes suitable for use after an ordinary surface wipe.
The registered product label controls the actual procedure. Equipment with channels, internal pathways, or inaccessible joints may require trained personnel and a different approved method altogether.

Give staff a repeatable sequence
- Pre-clean visible soil. Remove sweat deposits, food, grease, dust, and other debris with an appropriate cleaner and separate cleaning material before applying the disinfectant.
- Check the application. Confirm the label covers the target organisms and surface type, then check protective equipment, ventilation, compatibility, and any rinse instructions.
- Apply complete coverage. Wipe until the intended surface is visibly wet, working systematically and exposing a fresh section of the wipe as you move across each zone.
- Maintain the full wet interval. Start timing when coverage is complete, watch for premature drying, and use additional wipes as necessary to maintain the labeled exposure.
- Allow the specified finish. Let the surface air-dry rather than buffing it dry early, and complete any label-required rinse only after the prescribed treatment.
- Close the task properly. Put used wipes in the appropriate waste container, remove protective equipment correctly, and wash hands.
The EPA-registered wipe label illustrates the operational requirement: hard, nonporous surfaces must remain visibly wet for its one-minute contact time, using enough wipes, before air-drying. That timing belongs to that label, not to every product in the supply cupboard.
The most common slip is wiping dry too early. A staff member may apply the product thoroughly and then remove it with a dry towel to make the equipment available faster. That shortcut defeats the intended exposure.
Make waiting part of the workflow
Teach staff exactly when the timer starts and what counts as completion. Opening the canister doesn't start contact time, and finishing the wiping motion doesn't end it.
In a gym, the practical solution is to rotate through equipment while treated surfaces remain unavailable. At an airport or venue, divide the route into manageable zones so staff can maintain coverage without blocking an entire seating area.
If a surface dries before the required interval ends, follow the product's instructions for reapplication. Don't count a dry period as active wet contact time.
A fast route isn't efficient if the next employee has to repeat it because the first treatment never met the label.
Never mix chemicals. Don't add another cleaner to a wipe container, refill a canister with an unrelated liquid, or assume that combining products improves performance.
Remove the obstacles that cause shortcuts
Place supplies where the task occurs. A gym wipe dispenser near equipment rows is more useful than a container hidden behind reception, particularly when staff need to intervene during a busy period.
Color-code reusable cleaning cloths by zone so restroom materials don't travel to equipment or food-service areas. Keep wipe containers closed between uses, assign responsibility for refills, and store replacement stock according to its instructions.
Build a small compatibility list for touchscreens, coated metal, vinyl pads, and rubber grips. Test an inconspicuous area where appropriate, but don't treat a successful spot test as permission to ignore equipment instructions.
Package price alone won't tell you whether staff can treat a bench adequately or keep a busy station supplied.
Inspect narrow seams and equipment interfaces separately. Porous upholstery, cracked pads, and damaged surfaces may need repair, replacement, or another approved cleaning process rather than additional wiping.
The finish check is straightforward: complete coverage, visibly wet for the full required interval, then the correct dry finish. If residue remains, investigate compatibility and permitted aftercare instead of improvising a second chemical treatment.
Why More Disinfecting Is Not Always Safer
Stopping resistant bacteria doesn't necessarily destroy their resistance genes. A University of Washington study published in 2025 tested nine common disinfectant treatments, including ethanol, hydrogen peroxide, benzalkonium chloride, and UV light, and found that although the treatments generally stopped the bacteria, most had negligible effects on resistance-conferring genes.
The remaining DNA was intact enough to potentially move into other bacteria. Disinfected therefore doesn't automatically mean resistance risk eliminated.

Keep the finding in proportion
This wasn't a real-world facility trial. It did not establish that ordinary facility wiping directly causes clinical antimicrobial resistance, and it doesn't justify abandoning disinfection where it's needed.
It does challenge the assumption that more chemical applications always produce a better hygiene program. Increasing frequency won't correct the wrong formulation, poor application, or a route focused on low-risk decorative surfaces.
Manage use rather than chasing strength
A risk-based program should specify where routine soil removal is sufficient and where pathogen-control treatment is justified. Managers should document correct concentration, application quality, required exposure, and ventilation instead of merely counting containers consumed.
- Assign an owner: Give a supervisor responsibility for product approval and procedure changes.
- Record substitutions: Evaluate a replacement product before staff use it, including compatibility and different application instructions.
- Practice stewardship: Document why a formulation is selected and when it should change; don't rotate chemicals casually as a substitute for proper technique.
Worker exposure belongs in that review, including gloves, ventilation, and the practical consequences of applying chemicals more often than necessary.
Procurement decisions should favor products staff can use correctly, with suitable claims and clear instructions, rather than buying the strongest-sounding formulation.
Audit question: Are we disinfecting the zones that carry real risk, and are we doing it correctly?
Use that question during a route observation. Watching a task from supply collection through disposal tells a manager more than checking whether a container is empty.
Choosing Wipes With Lower Environmental Cost
Ask a supplier which wipe is greener and you will usually get a material name. Material is the easy part. What decides the footprint is the whole method: substrate, formulation, quantity used, and the disposal route your building has.
Wipe and disinfectant options by use and trade-off
| Option | Best Use | Main Trade-Off |
|---|---|---|
| Reusable cloths with validated laundering | Frequent touchpoints in one zone | Needs laundering, contamination control and labor |
| Ready-to-use disinfectant wipes | Fast touchpoint rounds between users | Single-use material and packaging |
| Concentrate with spray or dispensing system | High-volume areas with trained staff | Dilution errors and dispensing equipment |
| Plastic-free or bio-based antimicrobial wipes | Sites with confirmed composting or safe disposal | Not automatically lower impact; check formulation and disposal |
| Targeted rather than blanket disinfection | Mixed-use buildings | Requires zone mapping and a written schedule |
A plant-based substrate doesn't settle the environmental question. Managers also need to weigh formulation, manufacturing, quantity used, and the disposal route that exists at their site.
A 2025 wet-wipe life-cycle assessment found that polyester and viscose-fiber manufacturing accounted for 94% of total global-warming impact in the assessed system, with most impacts arising during production. Scope matters. That figure describes one assessed system, not a universal footprint for every wipe on the market.
Antibacterial performance and environmental compatibility are separate properties. A bio-based antimicrobial material can shift burdens from one life-cycle stage to another rather than remove them, so a plant-based or antibacterial claim is a prompt for questions, not a conclusion.
Check the disposal route before the claim
Our guide to compostable disinfecting wipes sets out how to review material claims against disposal conditions. Don't assume a local composting operator accepts a used wipe because its packaging carries a compostability statement.
Keep these outcomes separate:
- Landfill persistence: How does the material behave under the likely disposal conditions?
- Sewer-blockage risk: Will users put wipes into toilets instead of the designated bins?
- Microplastic release: Does the substrate contain plastic, and how might it fragment?
- Carbon impact: What do production, transport, laundering and consumption contribute?
The better purchasing question is which method has the lowest impact while still meeting the required hygiene outcome? Each route carries its own operational demand: reusable cloths need controlled laundering and handling, concentrates need reliable dilution, and disposable wipes need bins and reliable waste collection. Match the option to the zone, reserving ready-to-use treatment for touchpoints where speed and correct application decide whether the surface is treated.
Set Up Your Disinfection Routine This Week
Put the plan on the weekly schedule, with named owners and a place to record completion. Written responsibilities are easier to supervise than ad hoc spraying when someone notices a dirty surface.

Turn the floor plan into assigned work
- Map the zones. Mark shared touchpoints on a floor plan and assign each route to a named staff role.
- Choose each zone's level. Use the facility table to set the appropriate treatment and add it to the weekly schedule.
- Run a timed demonstration. Have staff complete a treatment under supervision, adding timers where busy workflows make timing difficult.
- Maintain the touchpoint log. Record the zone, product, completion, exceptions, and corrective action; review it monthly and adjust after peak seasons.
For short-term rentals and guest-facing sites, CS Outsource's guest messaging and compliance checklist can complement the cleaning schedule when coordinating operational responsibilities and guest communication.
Make the log useful
Give staff somewhere to flag damaged pads, unavailable supplies, and surfaces that need another approved process. A checked box shouldn't hide an unresolved problem.
WipesBlog.com provides practical sanitation and disinfection articles for facility managers and business owners, including organizations such as schools, gyms, warehouses, and waiting rooms.
Prioritize cleanliness this week by mapping your busiest shared-touch zone and assigning its first documented round.
Leave a Reply